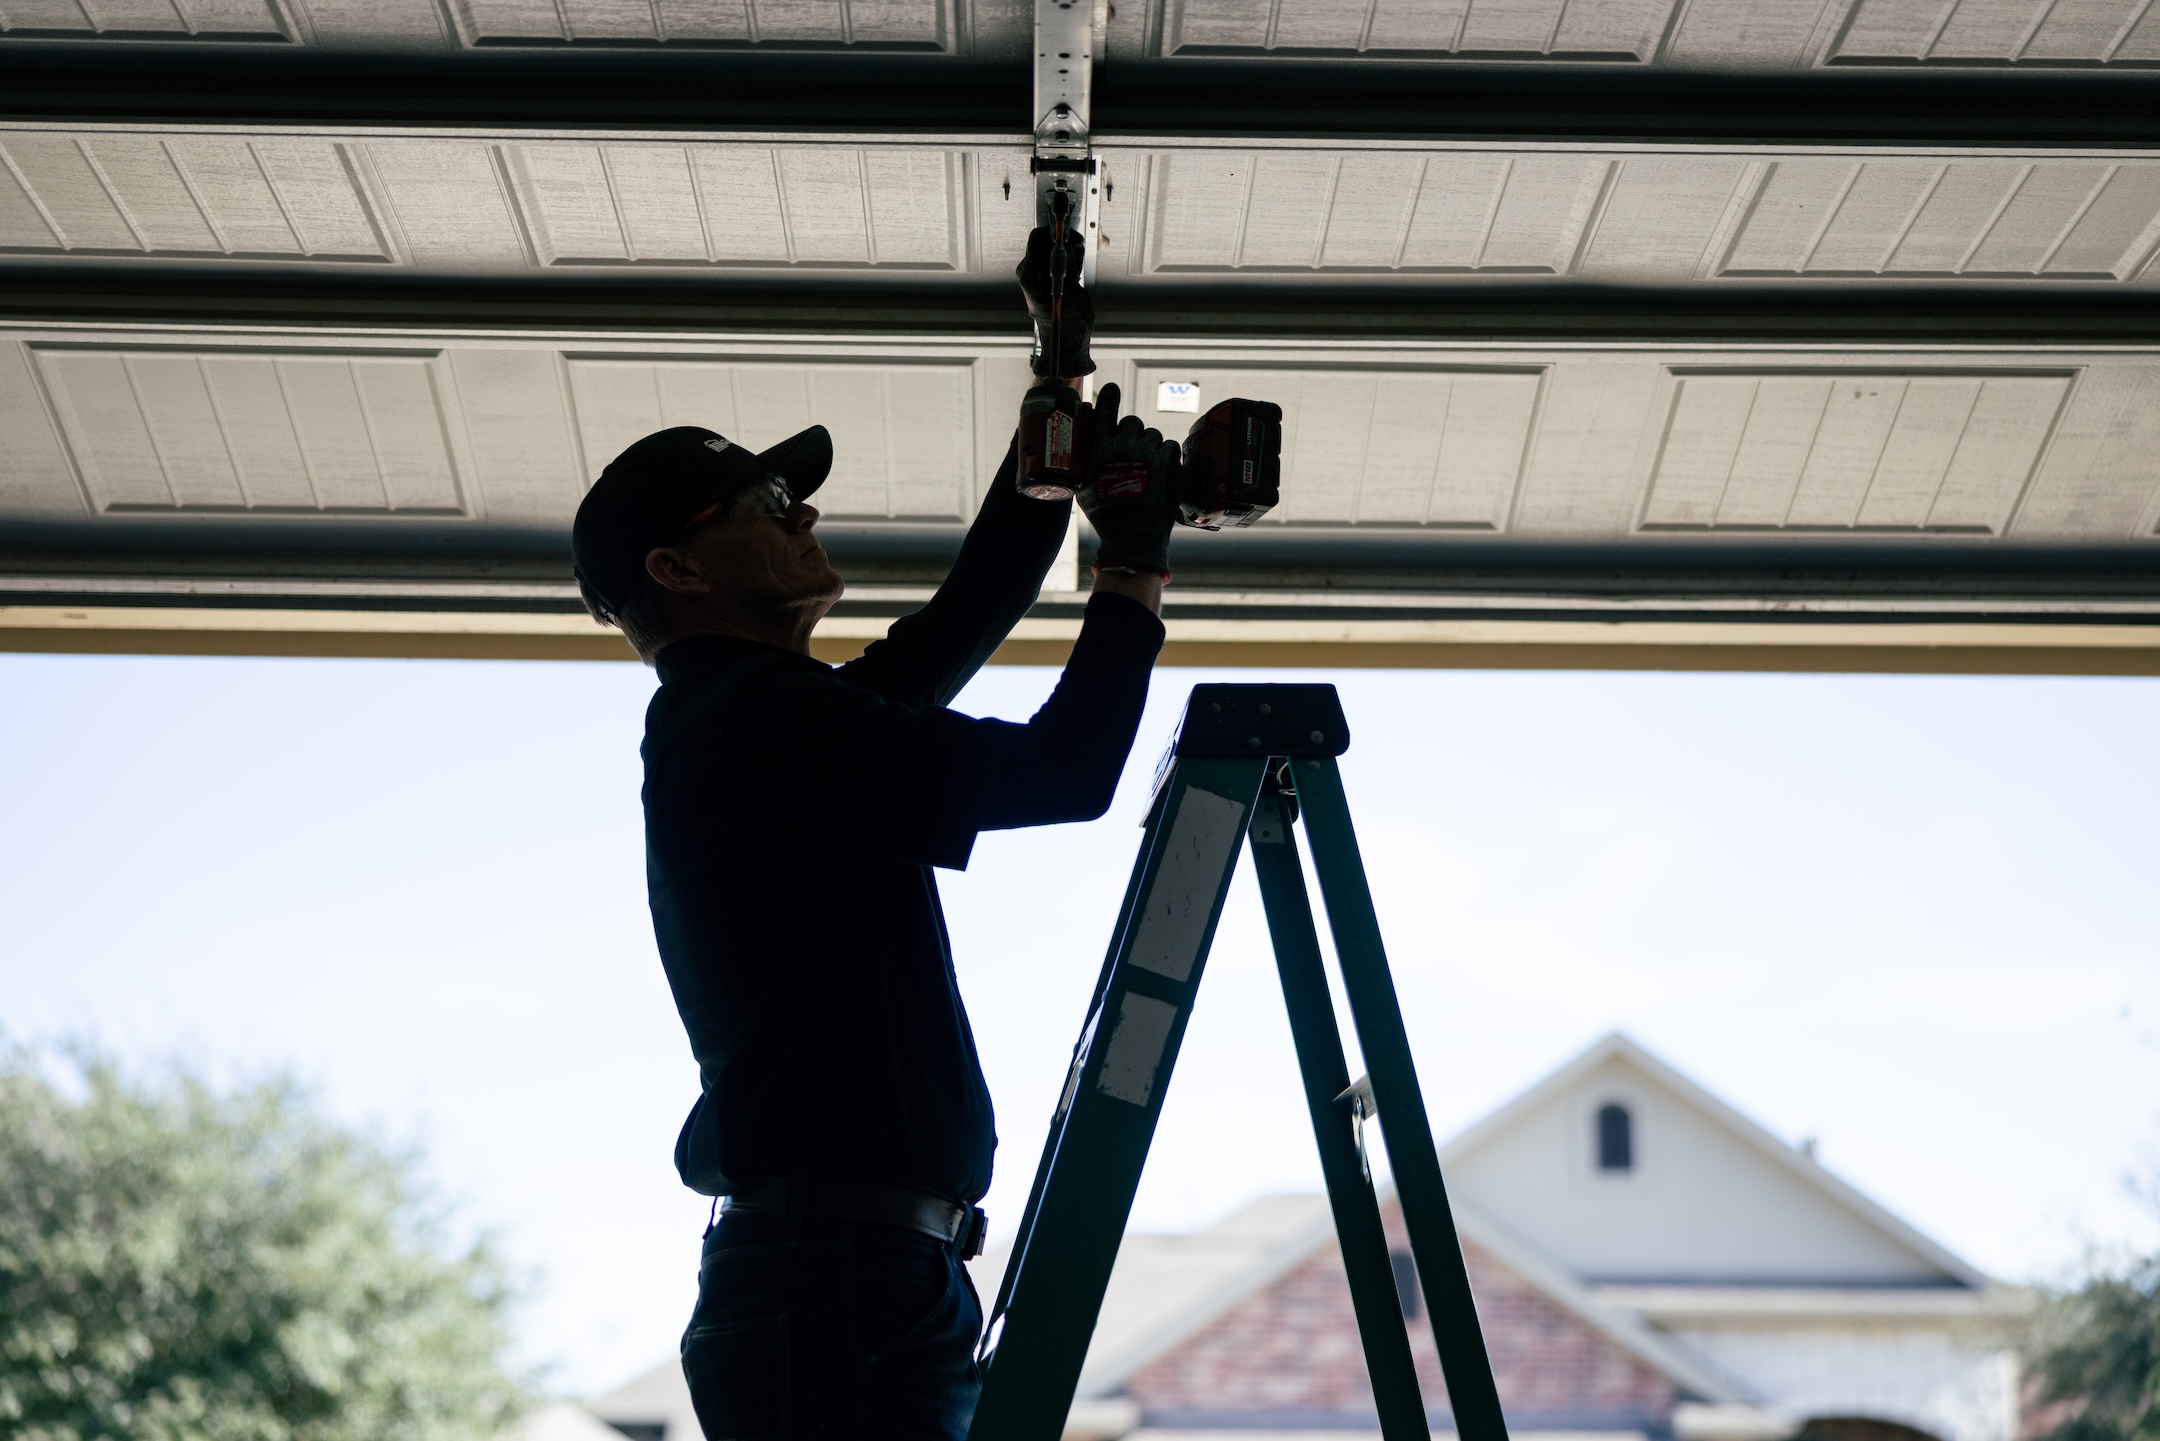
Learning how to reconnect a garage door to chain and tracks is a quick fix most homeowners can handle in a few minutes, and it is the step you need after pulling the emergency release cord during a power outage or a manual operation. When you pull that red cord, you disconnect the door from the opener’s trolley so you can move it by hand, and reconnecting simply re-engages that trolley with the chain-driven carriage so your remote and wall button work again. This guide walks you through the six steps to safely reconnect your door, plus what to do if the trolley will not re-engage.
- How it works: You will learn what the emergency release does and why reconnecting is necessary.
- The 6 steps: You will get a clear, in-order walkthrough to re-engage the trolley with the chain.
- Troubleshooting help: You will know what to check if the door will not reconnect the first time.
Understanding the Emergency Release and Trolley
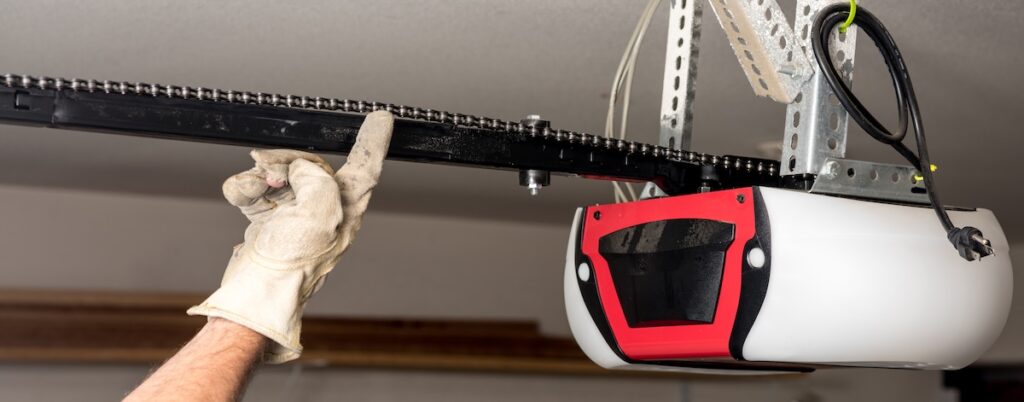
Reconnecting your door to the chain is really about re-engaging the trolley with the opener carriage. Understanding these parts makes the process quick and prevents common mistakes.
What the Emergency Release Cord Does
The emergency release cord is the red rope with a handle that hangs from the trolley on your opener’s rail, and pulling it disconnects the door from the motorized carriage so you can operate it by hand. Every residential opener, whether chain drive, belt drive, or wall-mount jackshaft, has one, and pulling it is a safe, normal action during a power outage or opener failure. Once pulled, the opener is no longer driving the door, which is why you have to manually reconnect the two before the remote or wall button will move the door again. The cord is attached to a spring-loaded release lever on the trolley that toggles between a connected and disconnected position.
- Red release cord: The rope hangs from the trolley and disconnects the door from the carriage.
- Standard feature: Every residential opener has one, and pulling it is safe.
- Reconnection needed: The remote will not work until the trolley re-engages.
How the Trolley Connects to the Chain
The trolley is the carriage that rides along the opener’s rail, and the chain drives it back and forth to pull the door open and closed. When connected, a spring-loaded latch or hook on the trolley clips onto the drive carriage that the chain moves, so the motor’s power transfers to the door. Pulling the release cord retracts that latch and frees the trolley from the carriage, and reconnecting re-engages it. Because the latch and slot only line up correctly when the door is in the fully closed position, closing the door first is the key to a smooth reconnection.
- Trolley and chain: The chain drives the trolley along the rail to move the door.
- Latch mechanism: A spring-loaded hook clips the trolley to the drive carriage.
- Closed-door alignment: The latch lines up correctly only with the door closed.
6 Steps To Reconnect Your Garage Door to the Chain
Reconnecting the door to the chain is a straightforward process when you follow the steps in order and keep safety in mind. Work through these six steps, and stop if the door feels unusually heavy, which can signal a spring problem.
1. Close the Garage Door Fully
Start by manually moving the garage door to the fully closed position before you do anything else. The trolley’s latch and the drive carriage only align correctly when the door is all the way down, so trying to reconnect a partially open door usually fails and can be unsafe. If the door is currently open and disconnected, lower it gently and evenly by hand until it rests fully closed on the floor. A fully closed door is both the safest and the most reliable starting point for reconnection.
- Lower it by hand: Move the disconnected door gently to the fully closed position.
- Why it matters: The trolley latch only lines up with the door closed.
- Even and controlled: Guide the door down evenly to avoid a sudden drop.
2. Disconnect the Opener Power
Unplug the opener from the ceiling outlet or switch off its breaker before working, so the motor cannot start unexpectedly while your hands are near the trolley and rail. This is a simple safety step that prevents the carriage from moving while you re-engage the latch. If you plan to use the automatic reconnection method later, you will restore power once the trolley lever is reset. Keeping the power off during the manual steps removes any risk of the opener activating while you work.
- Cut the power: Unplug the opener or switch off its breaker before working.
- Prevents surprises: Stops the carriage from moving while you reset the latch.
- Restore later: Power goes back on only when you are ready to test.
3. Pull the Release Cord Toward the Door
Locate the red release cord and pull the handle down and toward the garage door, away from the motor, to reset the spring lever into the connected position. This is the opposite direction from disconnecting, where you pull down and back toward the motor. You should see or feel the spring lever on the trolley compress back into its connected, ready-to-latch position. This step re-arms the latch so the trolley can grab the carriage again on the next pass.
- Pull toward the door: Move the handle down and toward the door to reset the lever.
- Opposite of release: Disconnecting pulls toward the motor; connecting pulls toward the door.
- Lever resets: The spring lever compresses back to the connected position.
4. Re-engage the Trolley With the Carriage
With the lever reset, reconnect the trolley to the drive carriage using one of two methods depending on your opener. The manual method, which works well for chain-drive openers and during a power outage, is to slide the door along the track by hand until the trolley latch clicks onto the carriage. The automatic method, available once power is restored, is to press the remote or wall button and let the opener move the carriage until it snaps back onto the trolley. In both cases, listen for a distinct click that confirms the latch has locked onto the carriage.
- Manual method: Slide the door by hand until the trolley clicks onto the carriage.
- Automatic method: With power on, press the button and let the carriage reconnect.
- Listen for the click: A clear click confirms the latch has locked in place.
5. Restore Power and Test the Opener
Once the trolley is re-engaged, plug the opener back in or switch the breaker on, then test the door with your remote and wall button. Run the door through at least one full open-and-close cycle to confirm the chain drives the trolley smoothly and the door moves normally under power. Watch and listen for any hesitation, grinding, or slipping, which could mean the trolley did not fully latch or the chain needs attention. A smooth, quiet full cycle tells you the reconnection was successful.
- Power back on: Restore power at the outlet or breaker.
- Run a full cycle: Open and close once to confirm smooth operation.
- Watch for issues: Hesitation or grinding means something needs a second look.
6. Check the Chain Tension
After reconnecting, take a moment to check that the opener chain is properly tensioned, since a loose chain causes noisy, jerky operation and extra wear. A correctly tensioned chain typically has only a small amount of sag, around half an inch at the midpoint of the rail. If the chain is visibly loose or slapping against the rail, most openers have an adjustment bolt on the trolley assembly that lets you tighten it, following your owner’s manual. Proper tension keeps the newly reconnected system running smoothly and quietly.
- Check the sag: A proper chain sags only about half an inch at the midpoint.
- Tighten if loose: Use the trolley’s adjustment bolt per your owner’s manual.
- Smooth operation: Correct tension prevents noise, jerking, and premature wear.
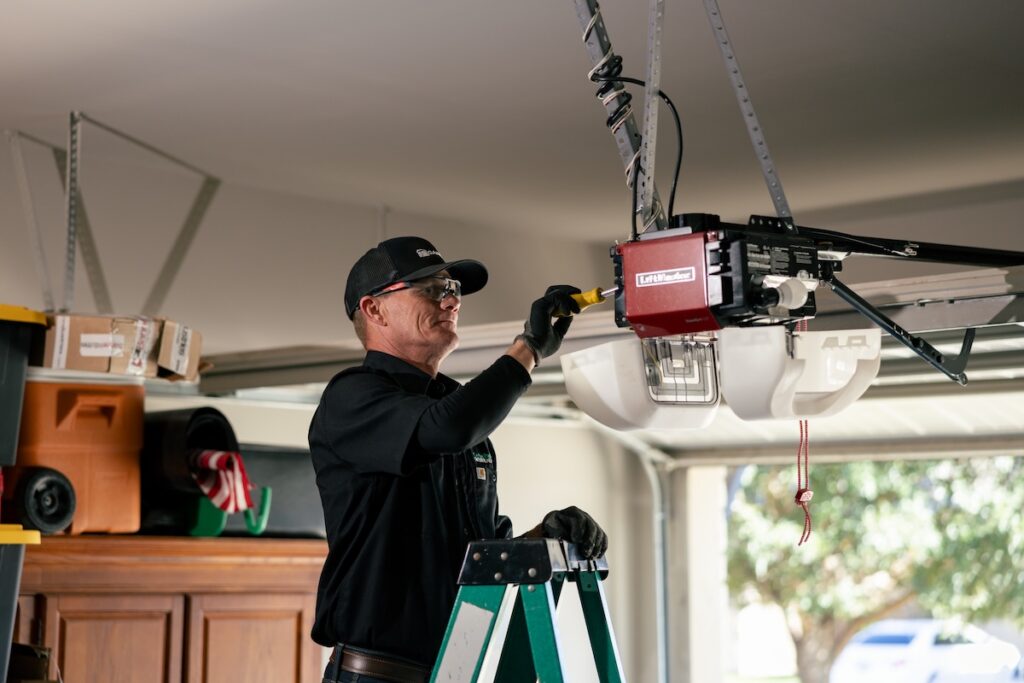
Troubleshooting and When To Call a Professional
Most reconnections go smoothly, but a few common issues can keep the trolley from latching. Knowing how to troubleshoot them, and when the problem is beyond a quick fix, saves you time and frustration.
What To Do if the Trolley Will Not Re-engage
If the opener runs but the door does not move, the trolley likely did not fully latch onto the carriage, and the most common cause is a door that was not completely closed. Make sure the door is all the way down, confirm the red cord is not left hanging in the disconnected position, and check that the release lever has sprung back to its connected spot. Verify the trolley is aligned with the carriage, then repeat the reconnection steps. If it still will not catch after two or three attempts, the latch or carriage hook may be worn or bent and need professional attention.
- Close it fully: An incompletely closed door is the top reason latching fails.
- Check the lever: Confirm the release lever has reset to the connected position.
- Retry a few times: If it will not catch after several tries, a part may be worn.
When the Problem Needs a Pro
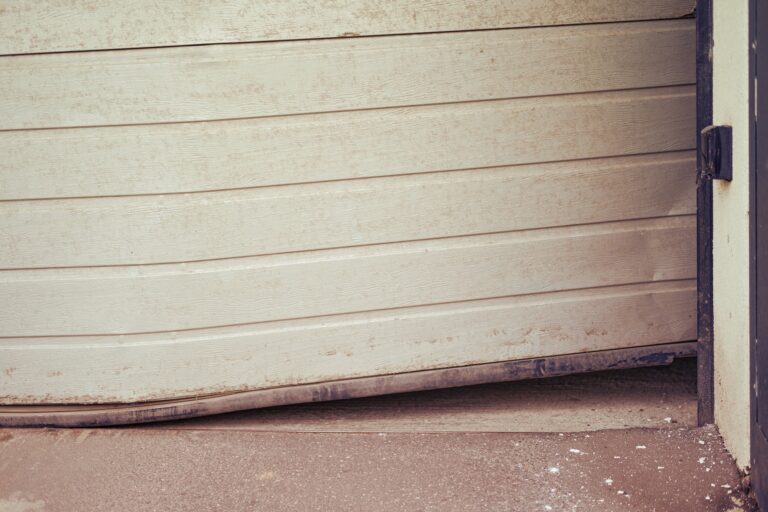
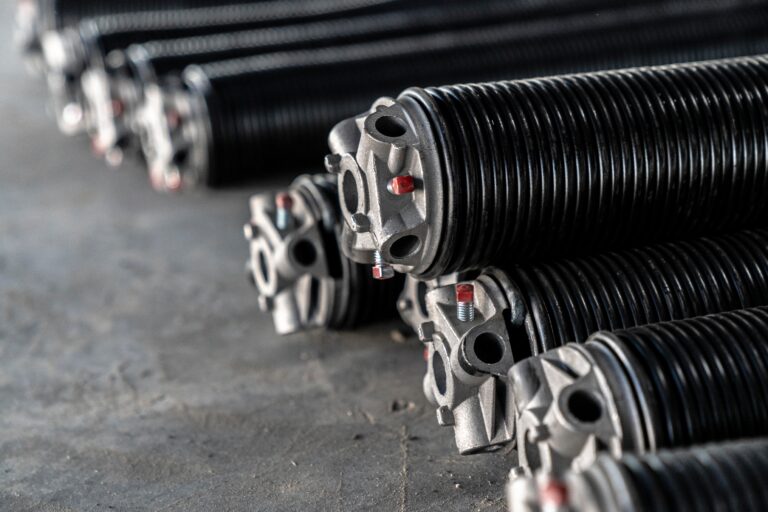
Some situations call for a trained technician rather than repeated do-it-yourself attempts. If the door feels unusually heavy when you lift it, appears crooked, or you see a gap in a spring coil, stop, because these point to a spring or cable problem that is dangerous to handle yourself. A trolley or carriage that is visibly damaged, or an opener that runs roughly after reconnection, also warrants a service call. Garage door opener repairs average around $400, with most homeowners paying between $200 and $550, so a professional fix is an affordable way to resolve a stubborn reconnection or opener issue safely. When in doubt, calling a pro protects both you and your equipment.
- Heavy or crooked door: Signs of a spring or cable problem that needs a technician.
- Damaged hardware: A bent trolley or rough opener warrants a service call.
- Affordable fix: Opener repairs average about $400 for a safe, lasting solution.
Frequently Asked Questions
How Do I Reconnect My Garage Door After Pulling the Red Cord?
To reconnect, first close the door fully, then pull the red cord down and toward the door to reset the spring lever to the connected position. Next, either slide the door by hand until the trolley clicks onto the carriage, or restore power and press the remote so the opener re-engages it automatically. Listen for a click, then test the door.
Why Won’t My Garage Door Reconnect to the Chain?
The most common reason is that the door was not fully closed when you tried to reconnect, since the trolley latch only aligns with the door down. Also check that the release cord is not stuck in the disconnected position and that the lever has reset. If it still will not catch after a few tries, the latch or carriage may be worn.
Which Way Do I Pull the Release Cord To Reconnect?
To reconnect, pull the red release cord down and toward the garage door, away from the motor, which resets the spring lever to the connected position. This is the opposite of disconnecting, where you pull the cord toward the motor. After resetting the lever, run the opener or slide the door to re-engage the trolley.
Is It Safe To Reconnect the Garage Door Myself?
Yes, reconnecting the door to the chain is a safe do-it-yourself task as long as the door is fully closed and the springs are in good condition. Never attempt it if the door feels unusually heavy or looks crooked, as that signals a spring problem for a professional. The reconnection itself involves no high-tension parts.
Do I Need To Reset Anything Else After Reconnecting?
After reconnecting, run the door through a full cycle to confirm smooth operation and check the chain tension. Your safety sensors and auto-reverse feature resume working automatically once the door is reconnected to the opener. If the travel or force seems off, the opener’s limit settings may need adjustment.
How Much Does It Cost To Fix an Opener That Won’t Reconnect?
If reconnection fails because of a worn or damaged part, garage door opener repairs average around $400, with most homeowners paying between $200 and $550. The exact cost depends on the specific part and your opener’s complexity. A professional can diagnose whether it is a simple latch fix or a larger repair.
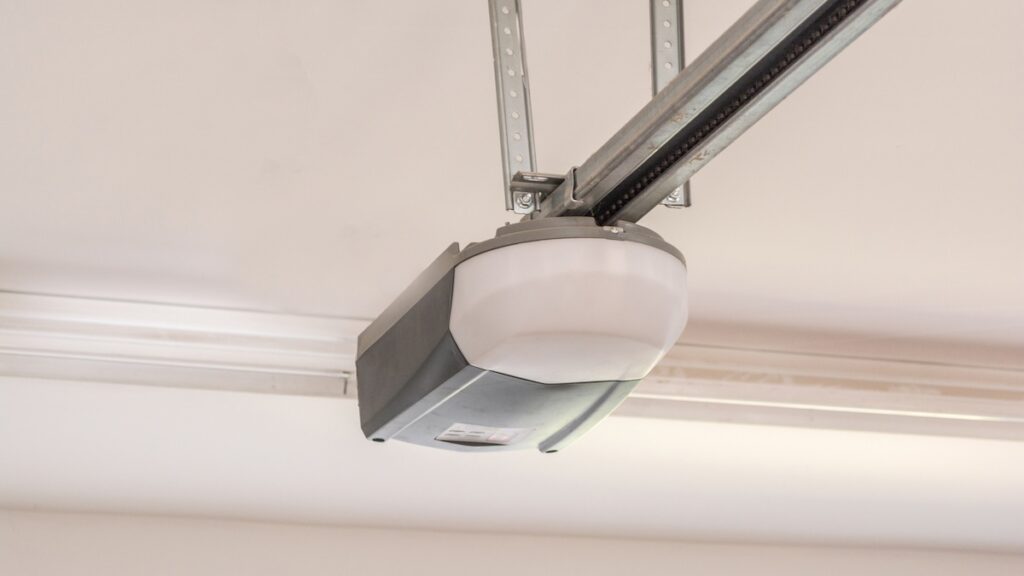
Trust Cedar Park Overhead Doors When Your Door Won’t Reconnect
When your garage door will not reconnect to the chain no matter how many times you try, Cedar Park Overhead Doors is the local team homeowners rely on to get it working again fast. Our trained technicians diagnose whether the trouble is a worn trolley latch, a chain tension issue, or an opener carriage that needs repair, and they safely handle any underlying spring or cable problem that a stubborn reconnection can reveal. As a Clopay Master Authorized Dealer, we service openers across belt drive, chain drive, jack-shaft, and MyQ smart configurations, and we pair them with quality doors from Raynor, Martin, Haas, Amarr, and Wayne Dalton, all backed by solid warranties and flexible financing. Because a disconnected door often happens at the worst time, we also offer 24/7 emergency garage door repair. If your door will not re-engage or your opener is acting up, reach out to Cedar Park Overhead Doors today for a free, no-obligation quote.